So, i knew from the start that I wanted to do some kind of funky ’70s touches to our new home, but the question inevitably was “What and where??” I think the wavy wallpaper and textiles that are part of the classic ’70s look are really fun, but I didn’t want to overdo it to where you feel a bit dizzy when you look at it, so I decided to do a large scale version in a more organic shape to get that groovy ’70s vibe in a more modern color scheme. It’s actually pretty simple how it all came together—I’ll show you!
So, while you can totally eyeball this and wing it, I like to plan out my designs a bit first so I know I’ll be happy with the final placement. And since I was doing this wallpaper in an entire room, I really needed the wave to feel balanced from each angle and connect back at the right place so it felt like a continuous line.
First, I took a picture of each wall in the room and printed them out so they were side by side on paper (I just made them all the same size in a Photoshop document). Then I drew out some ideas with a pencil of a general idea where I wanted the wave to be on each wall.
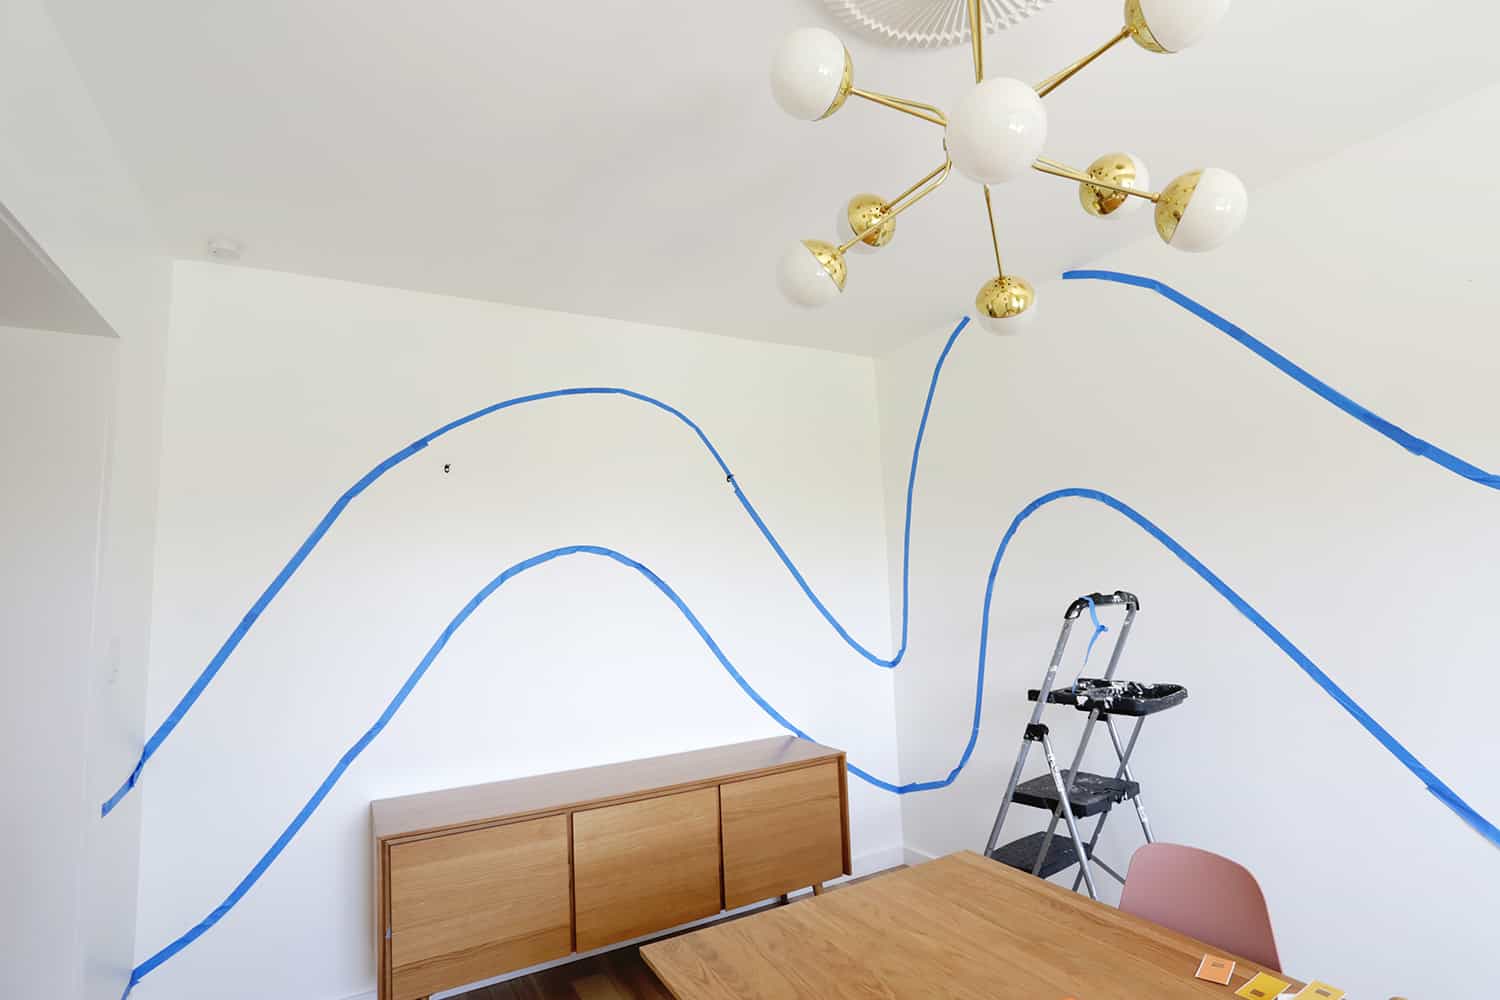
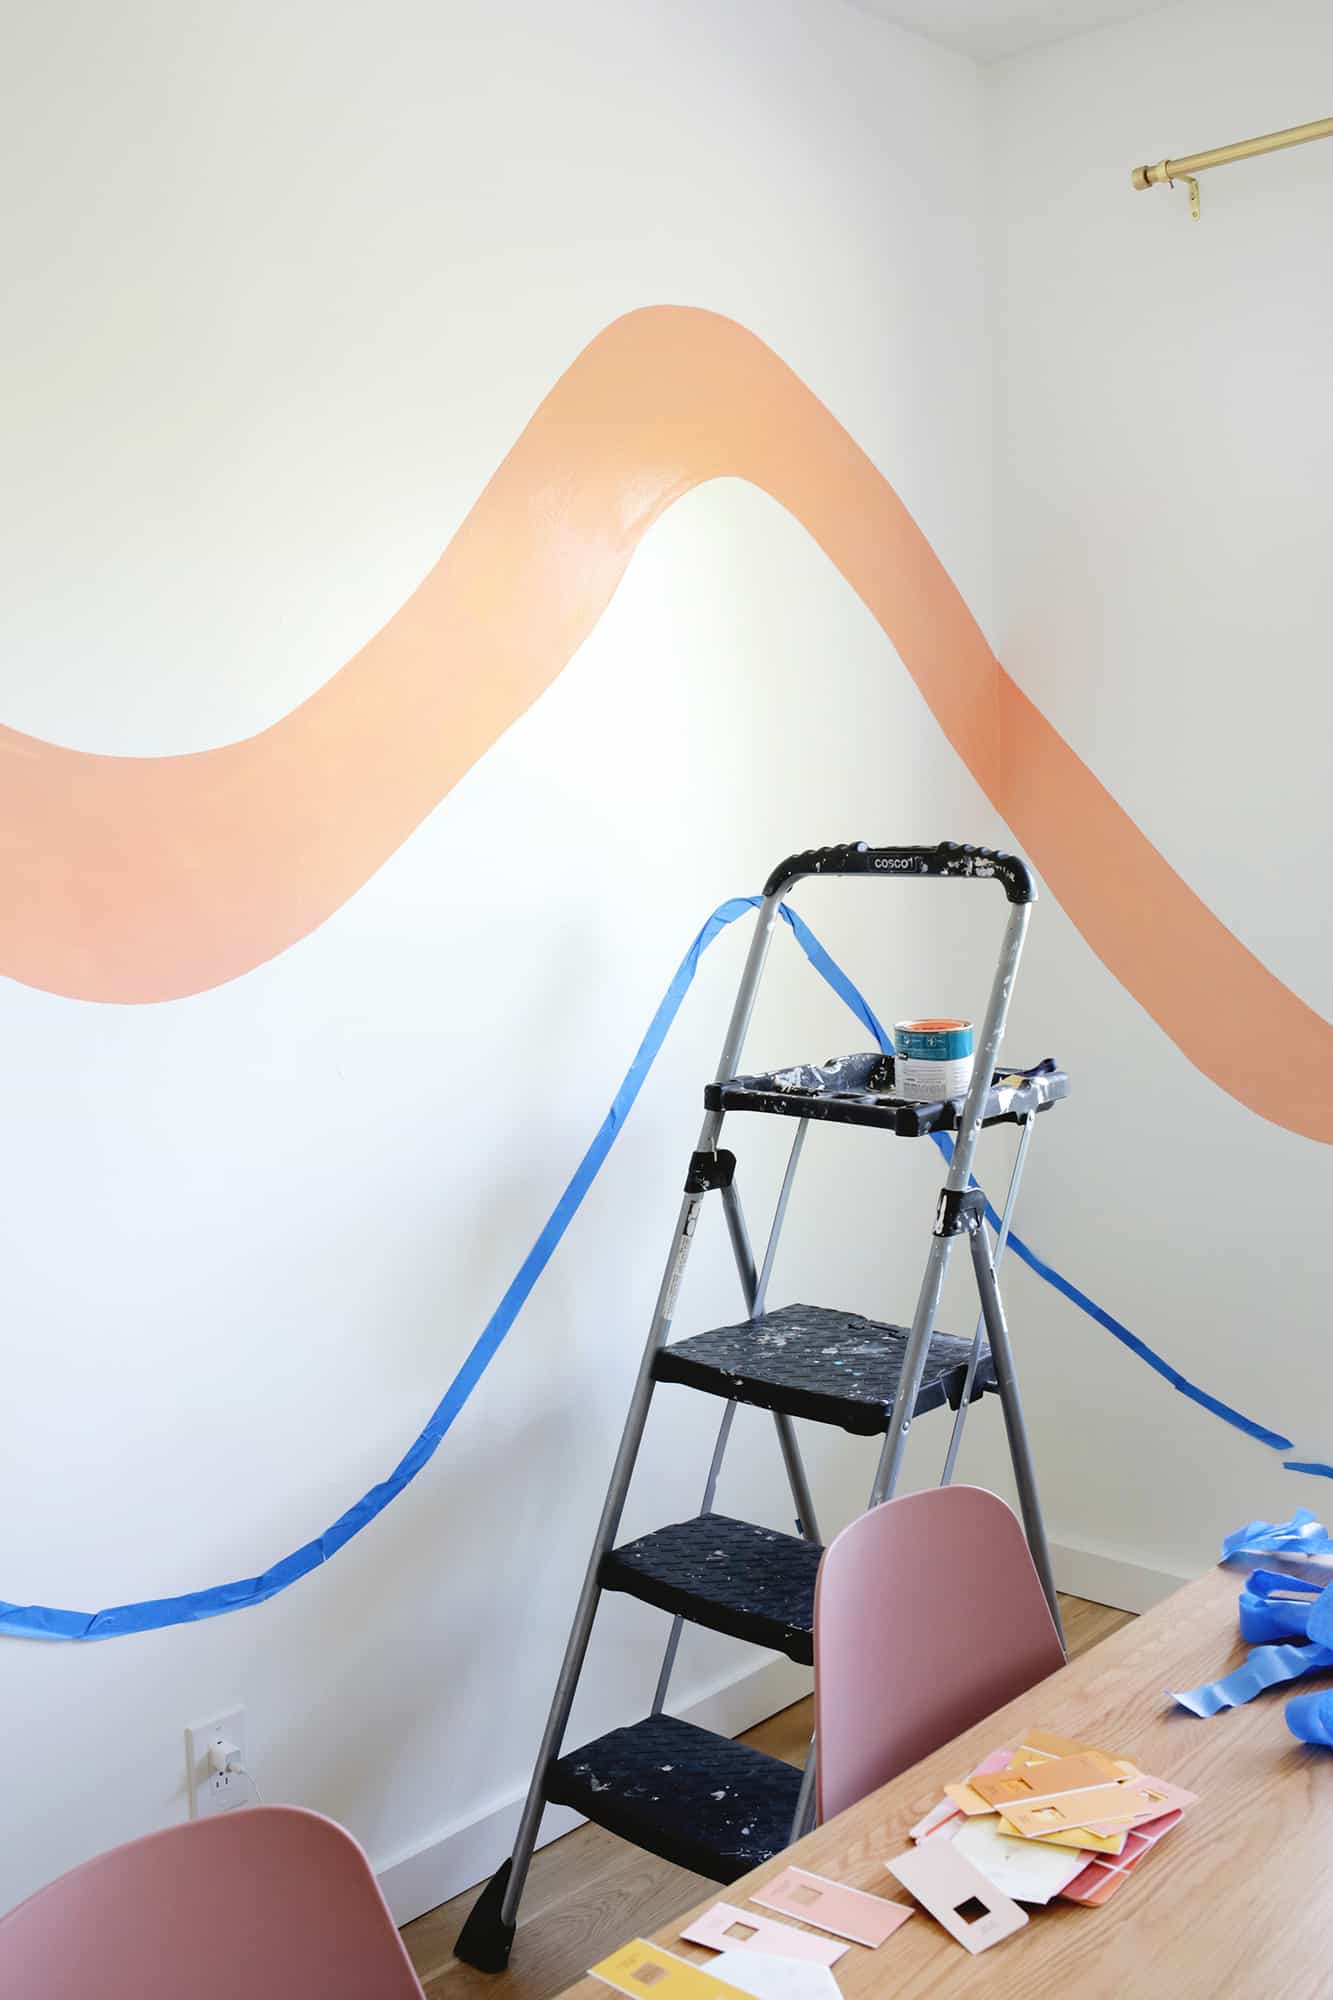
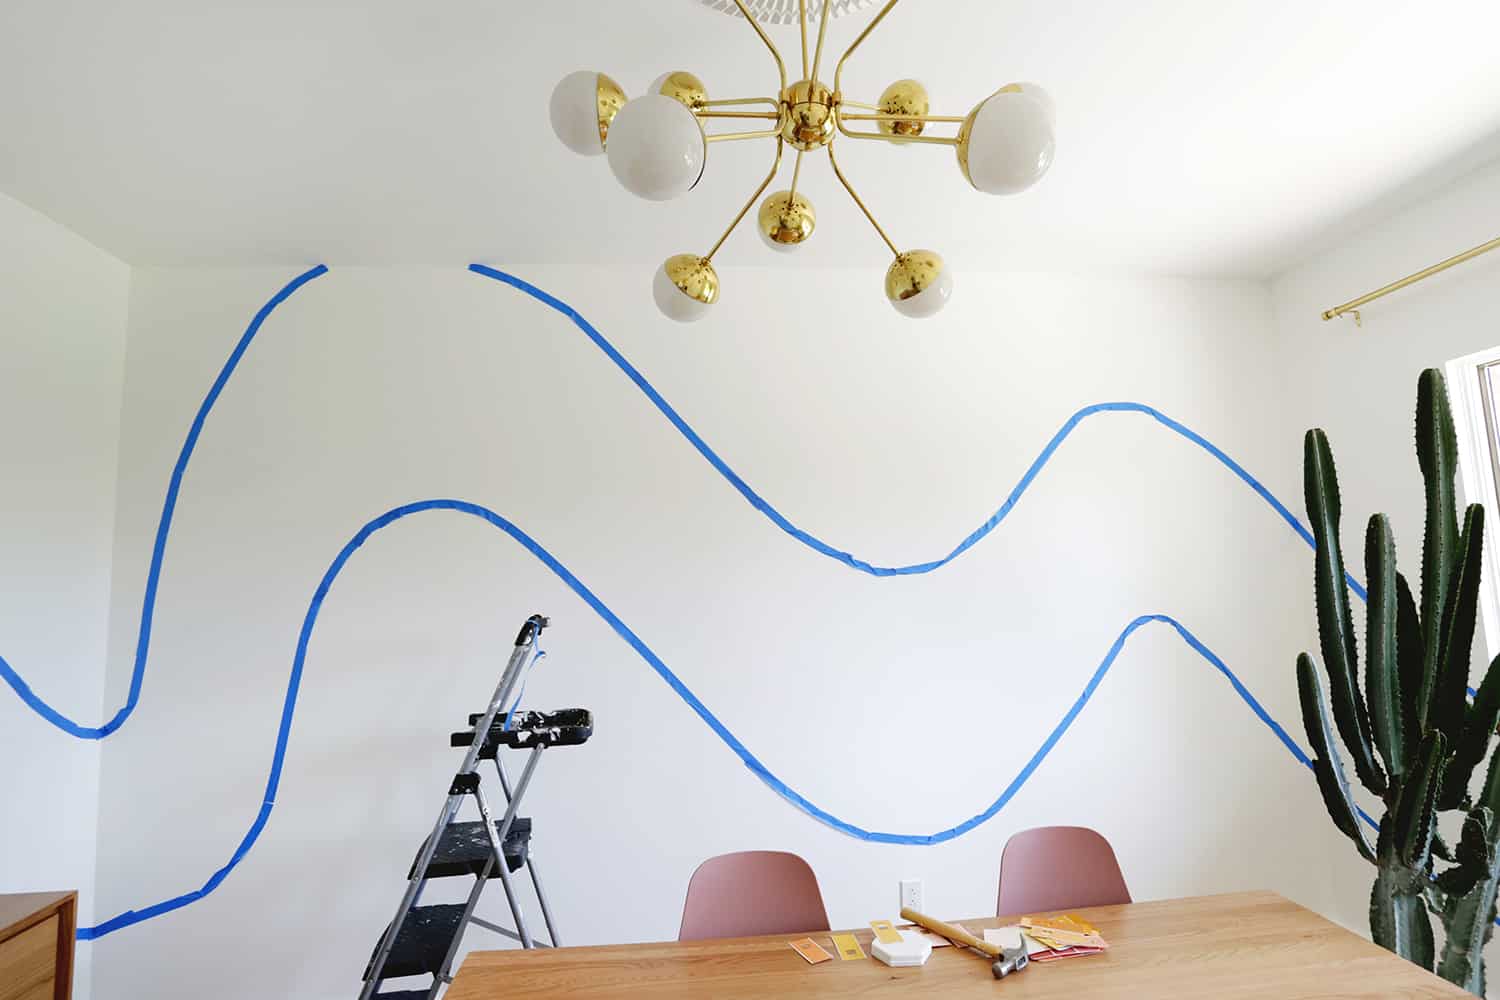 Once I had that blueprint, I used painter’s tape to rough out where the wave would actually be on each wall. It is kind of a bit of time to do this part, but I’m so glad that I did because once I was standing in the space it was easy to see that my waves needed to be tweaked some to feel balanced in the space, so I would just keep moving the tape higher/lower until it felt right. I was making my four colors pretty even for the stripes, so I just focused on outlining the top and bottom edge of the wave. It can get a little tricky in the corners to continue the wave so that it looks continuous, but keep playing with the tape and the angles until it looks good when you step away from it.
It was also important to have big furniture pieces where they should go on the wall during the taping so you could see how the waves would sit in relation to the furniture.
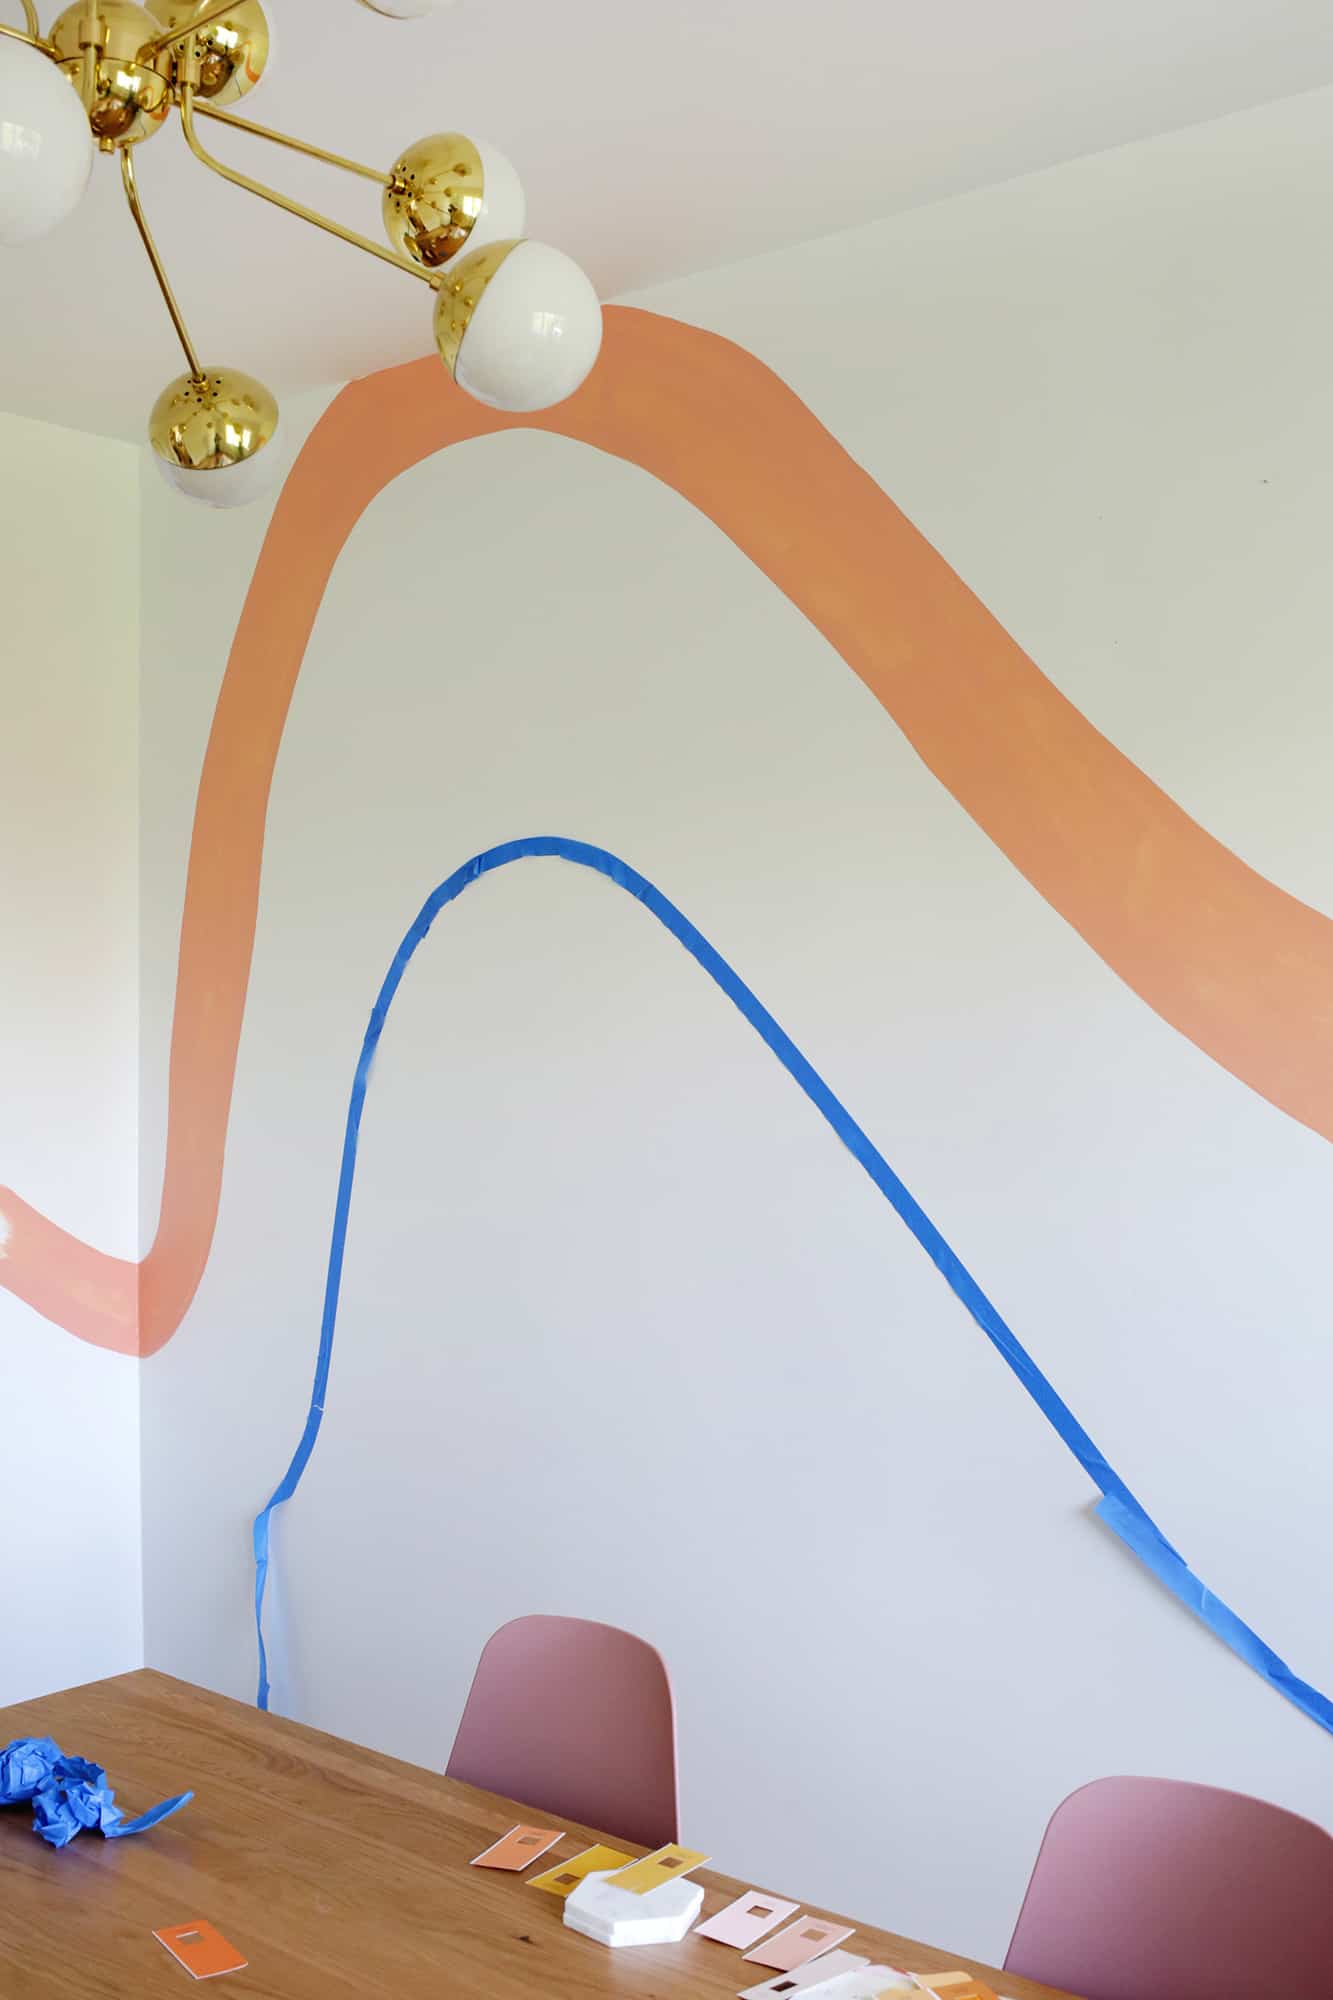 Once my tape felt like a good size and balance, I took light colored pencils that were close to the paint color I was using and I traced just inside of the painter’s tape lines so I would have an outline to follow with my paint. If you like to tape off lines when you paint them, you could tape each color off and tape and paint them one at a time like I did on this rainbow wall. But I will say that taping off curves is not my favorite thing, so I just decided to paint them freehand.
I divided up the wave into four sections (relatively equal but I left some areas not equal for a more organic look) with the colored pencil lines and then set about filling in the lines with paint!
The colors I used (top to bottom) are: Valspar Simply Coral, Warm Cider, Pale Satin Peach, and Golden Chime.
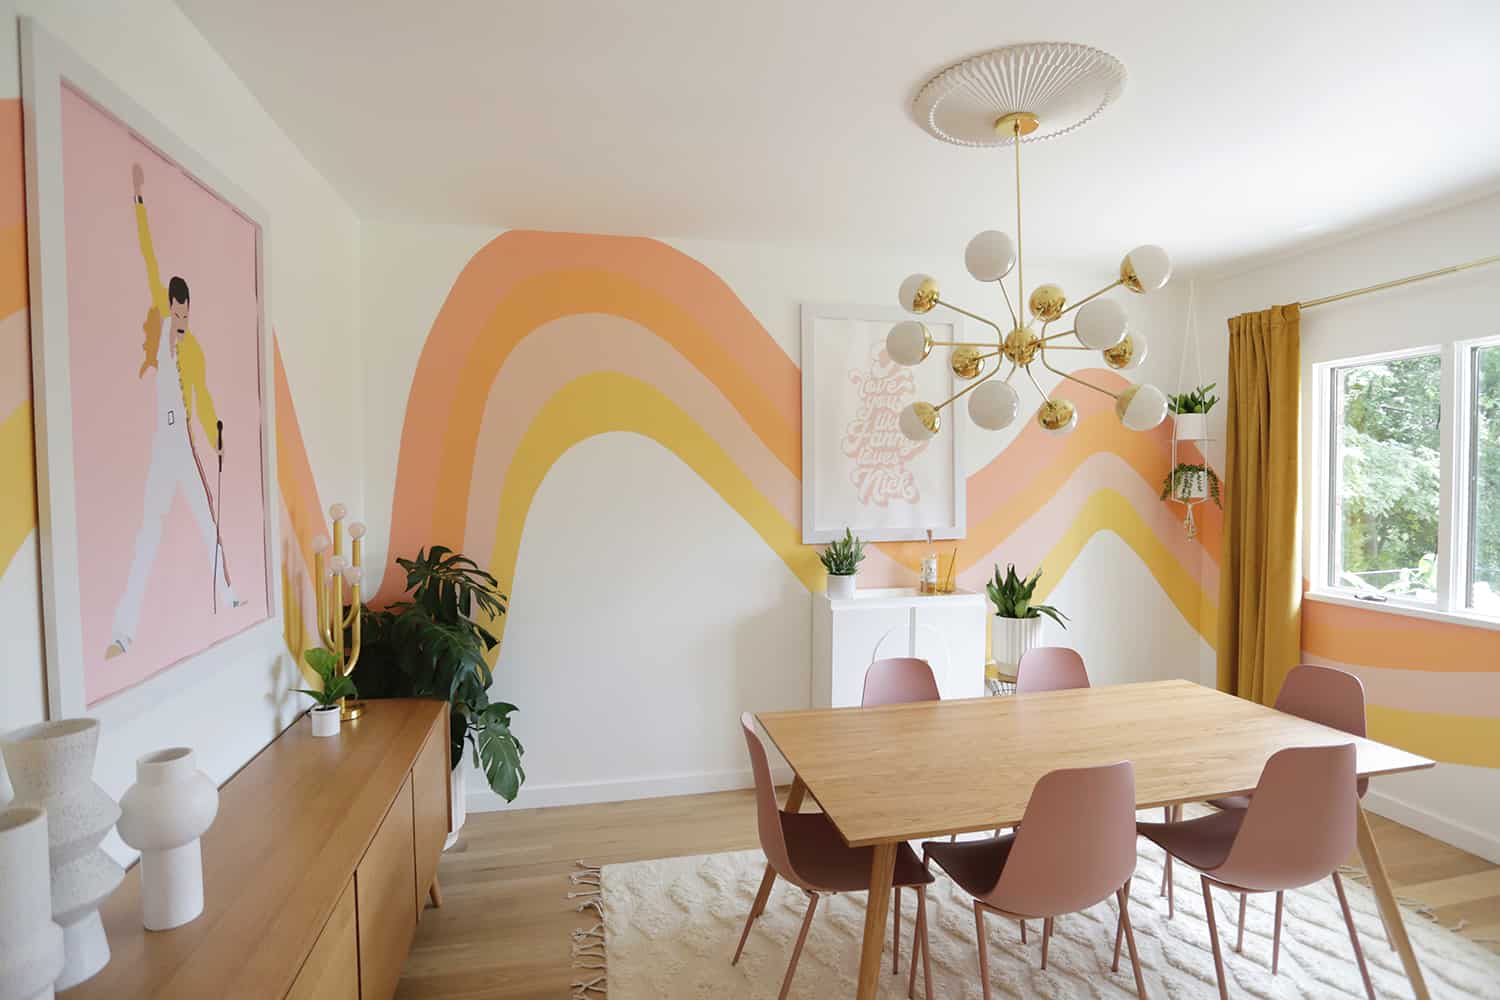
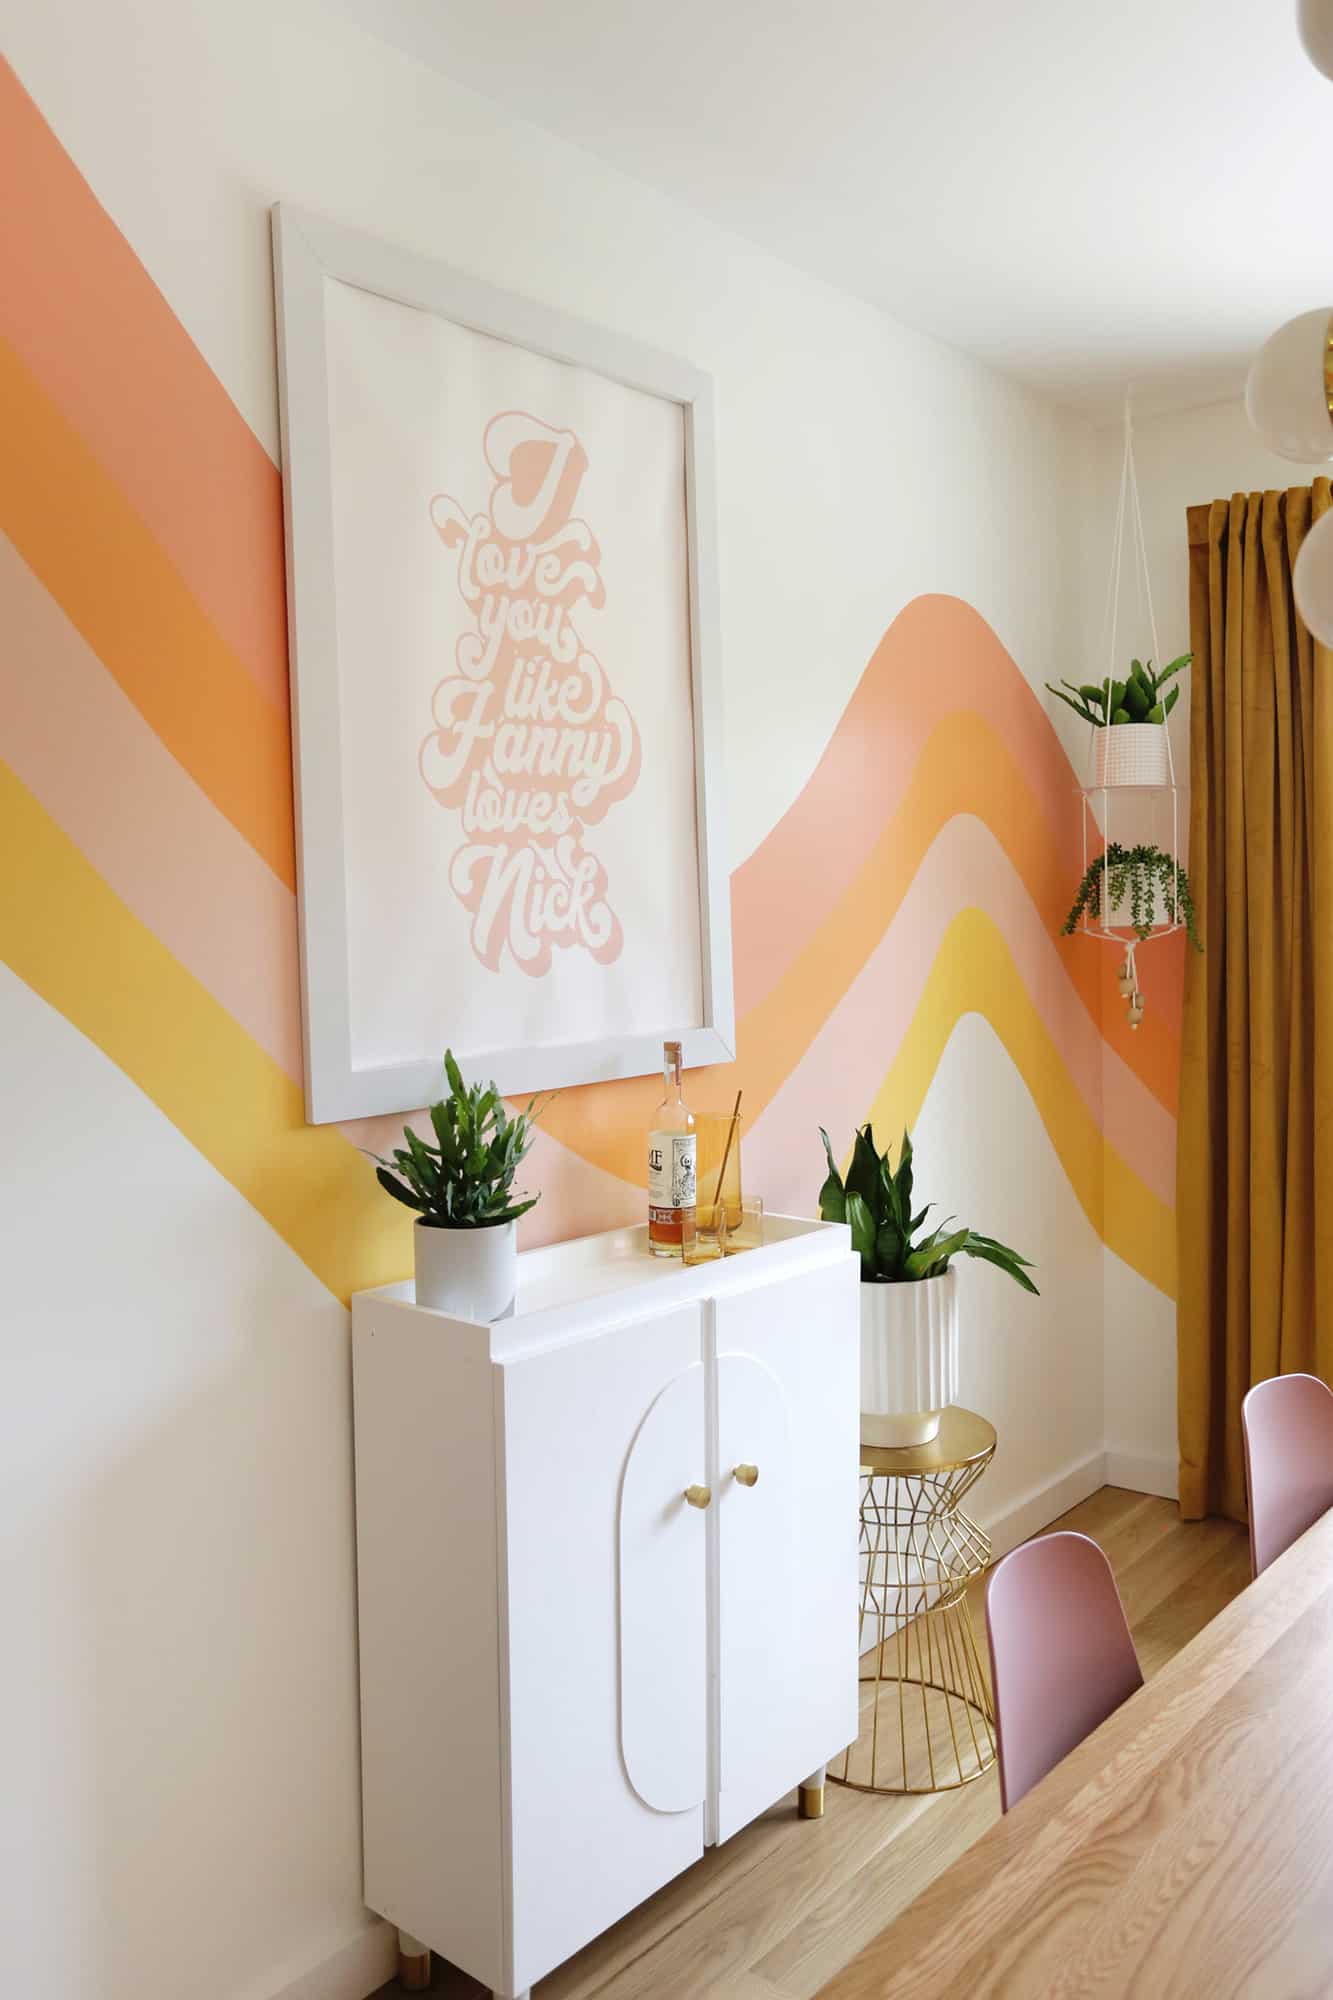


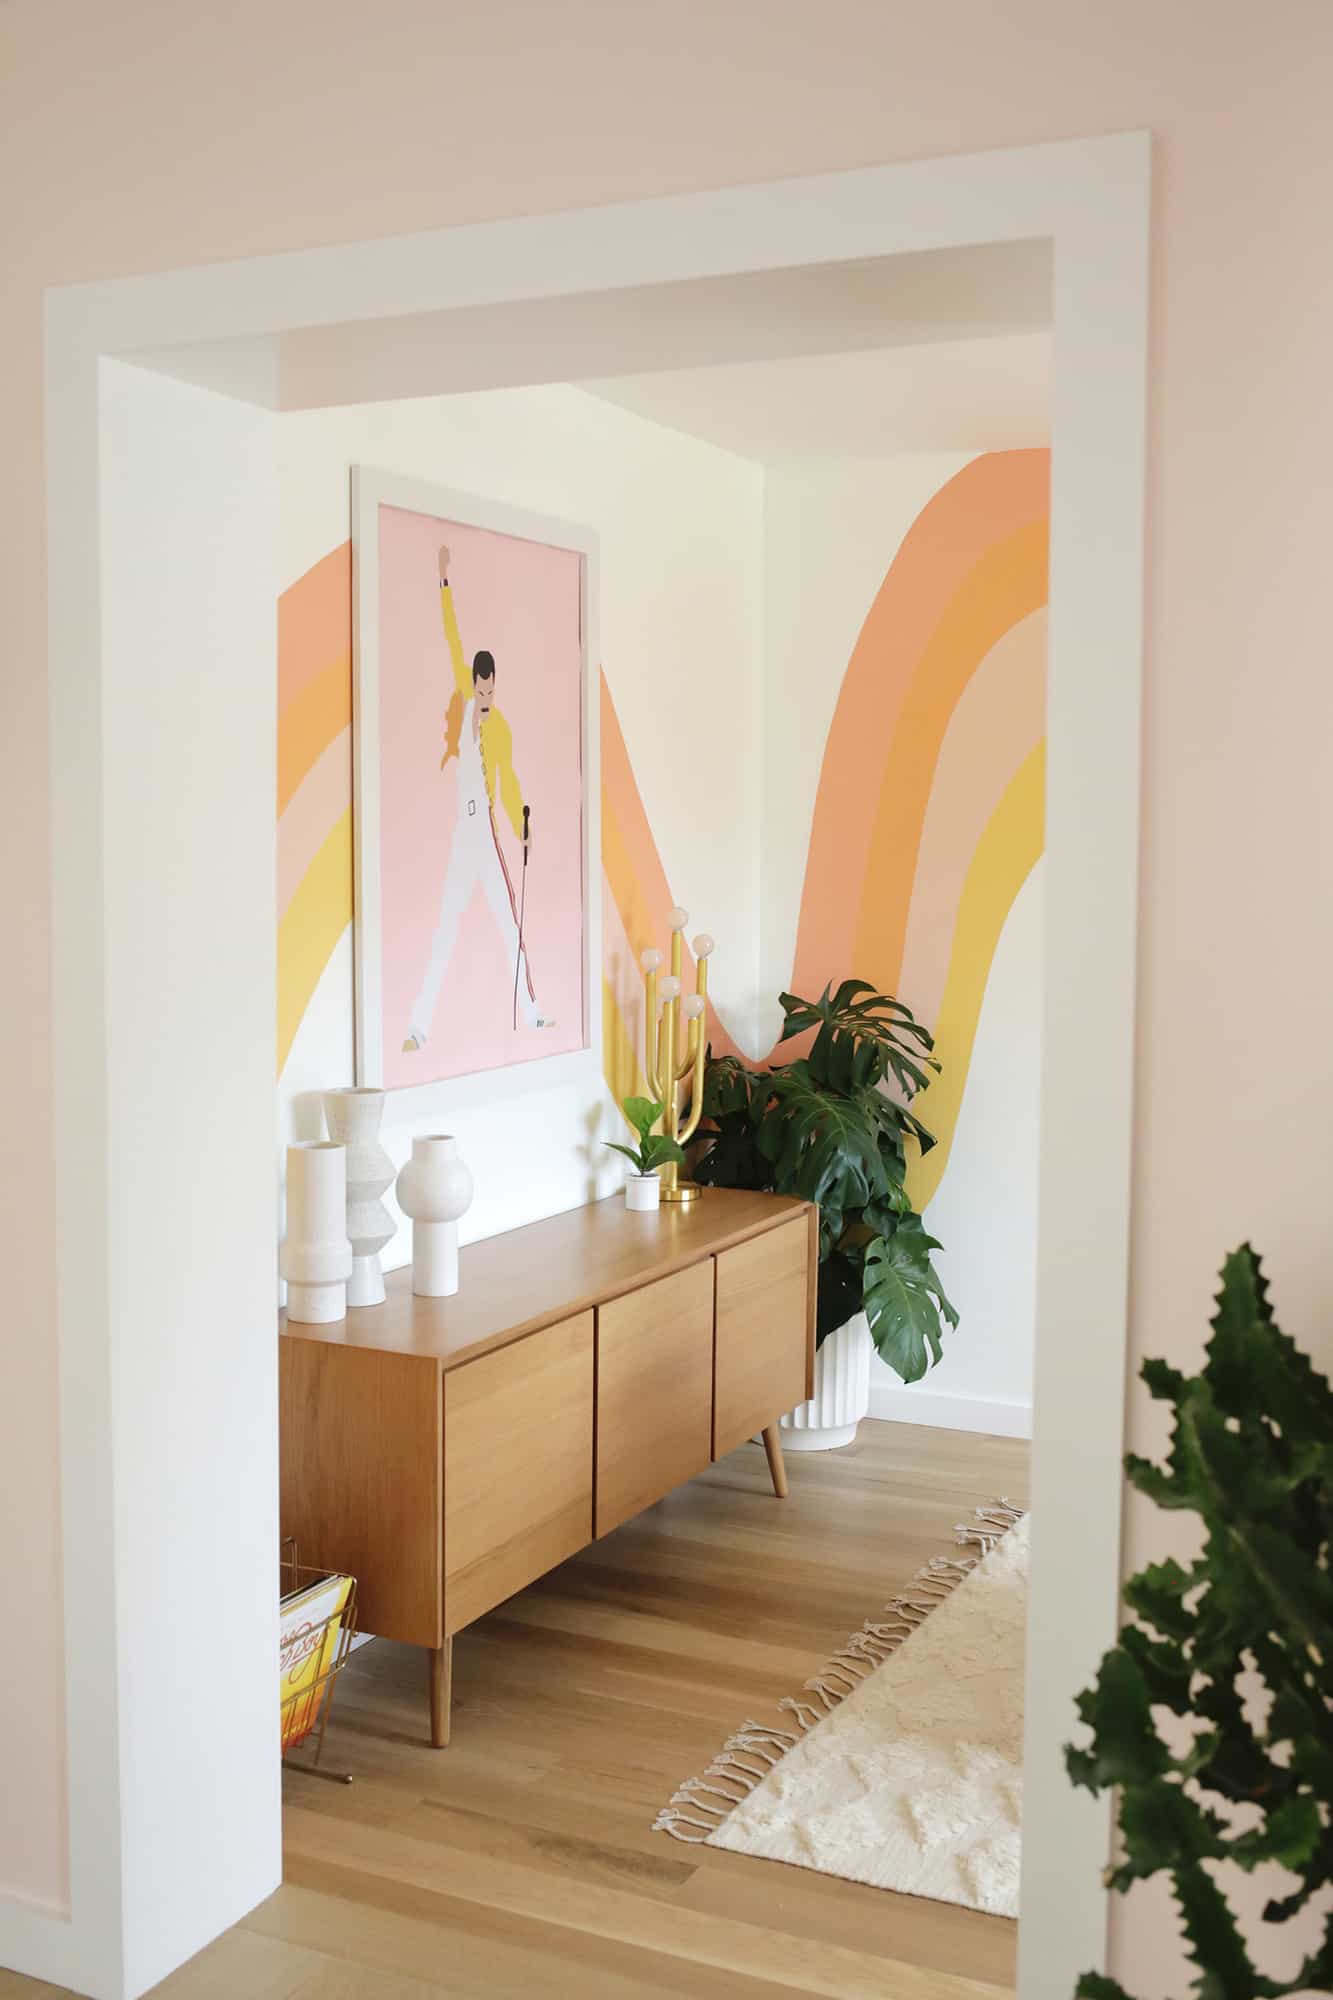
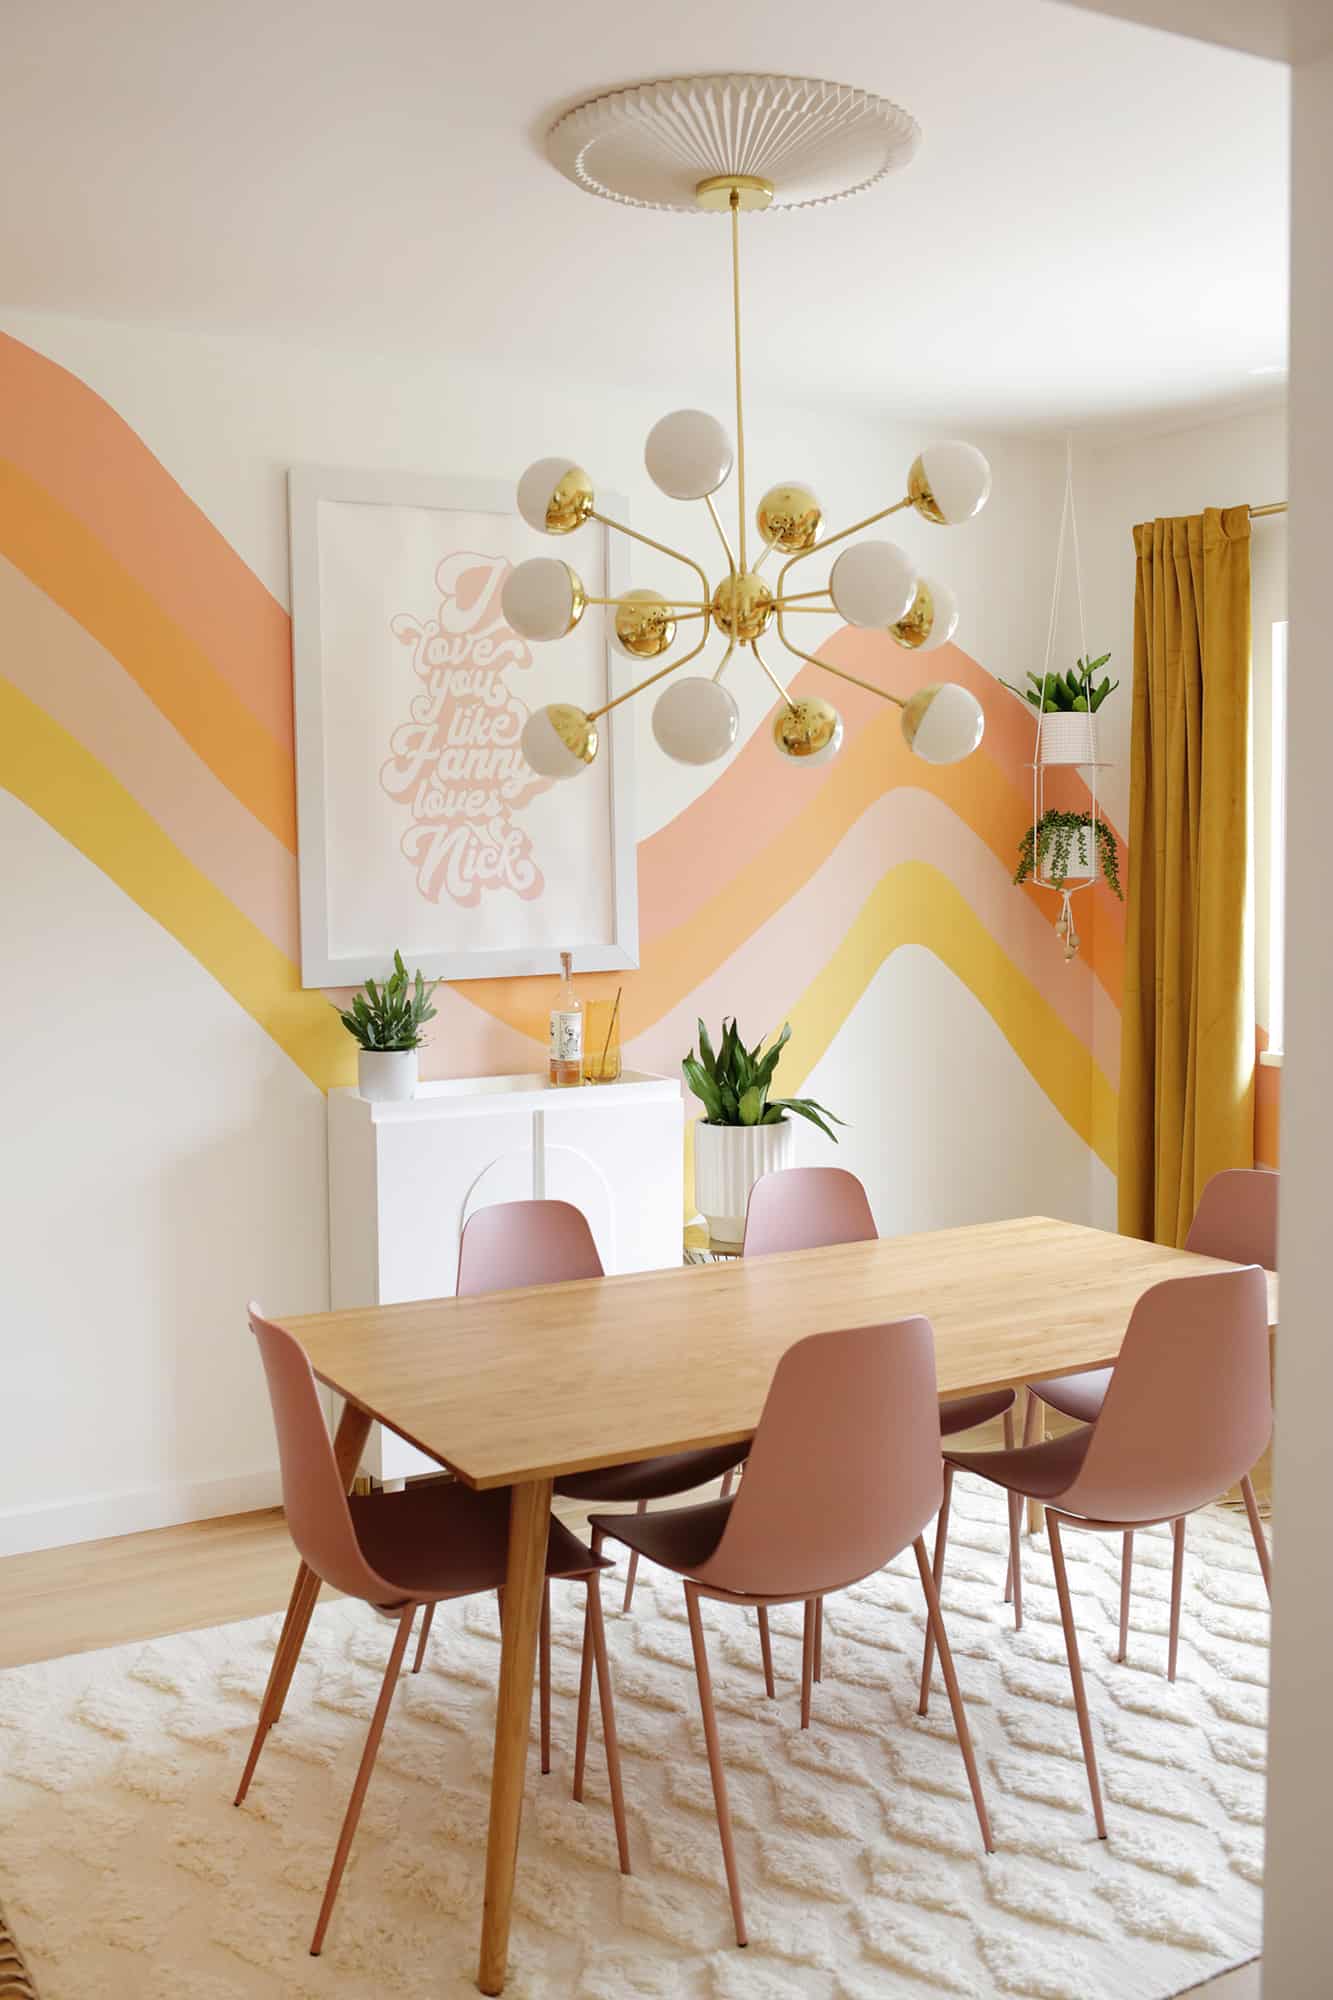 It took 2-3 coats of each color to fill in the wave (I like to use angled brushes like this for this type of painting) and I definitely wondered a few times if I was insane for doing this pattern in the process. But when it was all dry, the furniture was in place, and the art was hung, I could see how fun and special the room now felt. It totally has a ’70s vibe but the organic pattern of the wave and the colors give it a modern twist that makes it feel fresh. You could totally just do this on one wall as an accent, or across two walls to highlight the corner of a room—just adjust the wave and colors to fit your style and I think you’ll end up loving it as well too!! xo. Laura
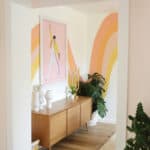
Striped Wave Wallpaper DIY
Ingredients
- paint colors of choice
- painter’s tape
- paint brush
Instructions
-
First, I took a picture of each wall in the room and printed them out so they were side by side on paper (I just made them all the same size in a Photoshop document). Then I drew out some ideas with a pencil of a general idea where I wanted the wave to be on each wall.
-
Once I had that blueprint, I used painter’s tape to rough out where the wave would actually be on each wall. It was also important to have big furniture pieces where they should go on the wall during the taping so you could see how the waves would sit in relation to the furniture.
-
Once my tape felt like a good size and balance, I took light colored pencils that were close to the paint color I was using and traced just inside of the painter’s tape lines so I would have an outline to follow with my paint. If you like to tape off lines when you paint them, you could tape each color off and tape and paint them one at a time like I did on this rainbow wall. But I will say that taping off curves is not my favorite thing, so I just decided to paint them freehand.
-
I divided up the wave into four sections (relatively equal but I left some areas not equal for a more organic look) with the colored pencil lines and then set about filling in the lines with each color of paint!



 The 15-Minute Movement Habit -Simple Desk Exercises for Working Bloggers
  How To Become A More Mindful Person
  How To Beat Loneliness In London
  Free green spaces to enjoy just outside of London
  How To Store Bicycles In Self Storage
  Why 2026’s top bloggers are going back to paper planners to spark creativity
  Why exercise doesn’t have to mean pain
  5 Tips on How to Train Your Brain