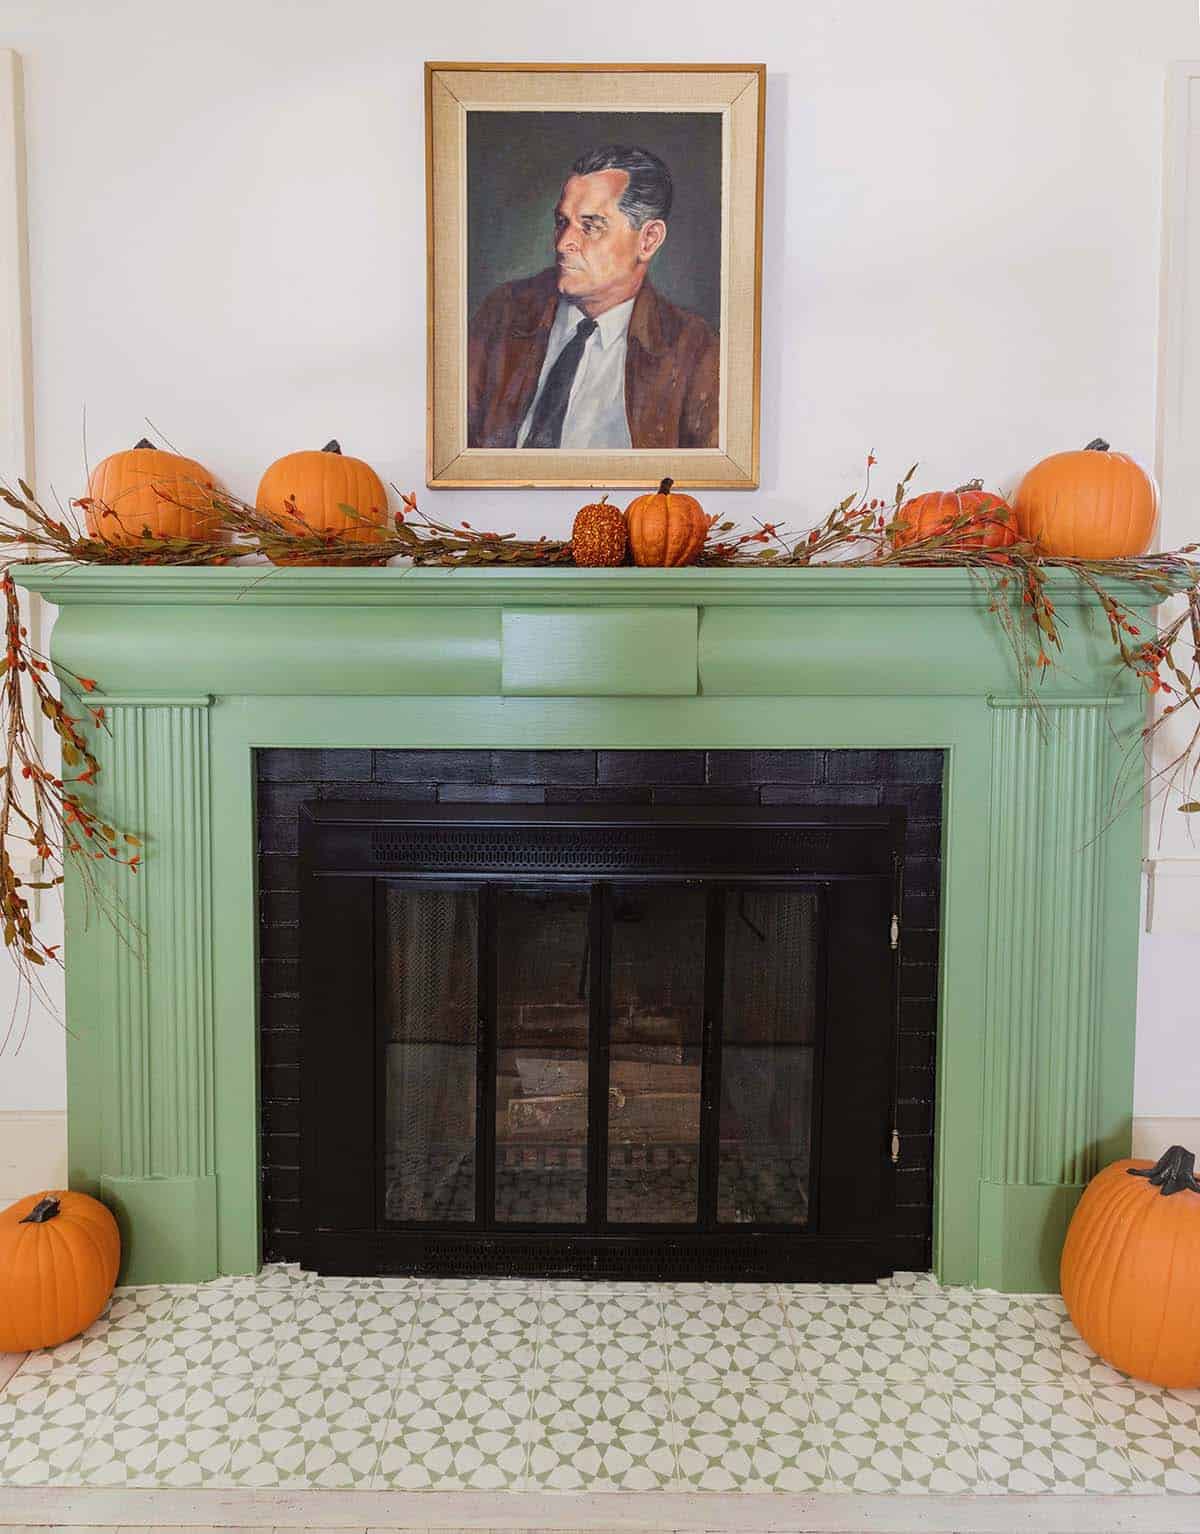
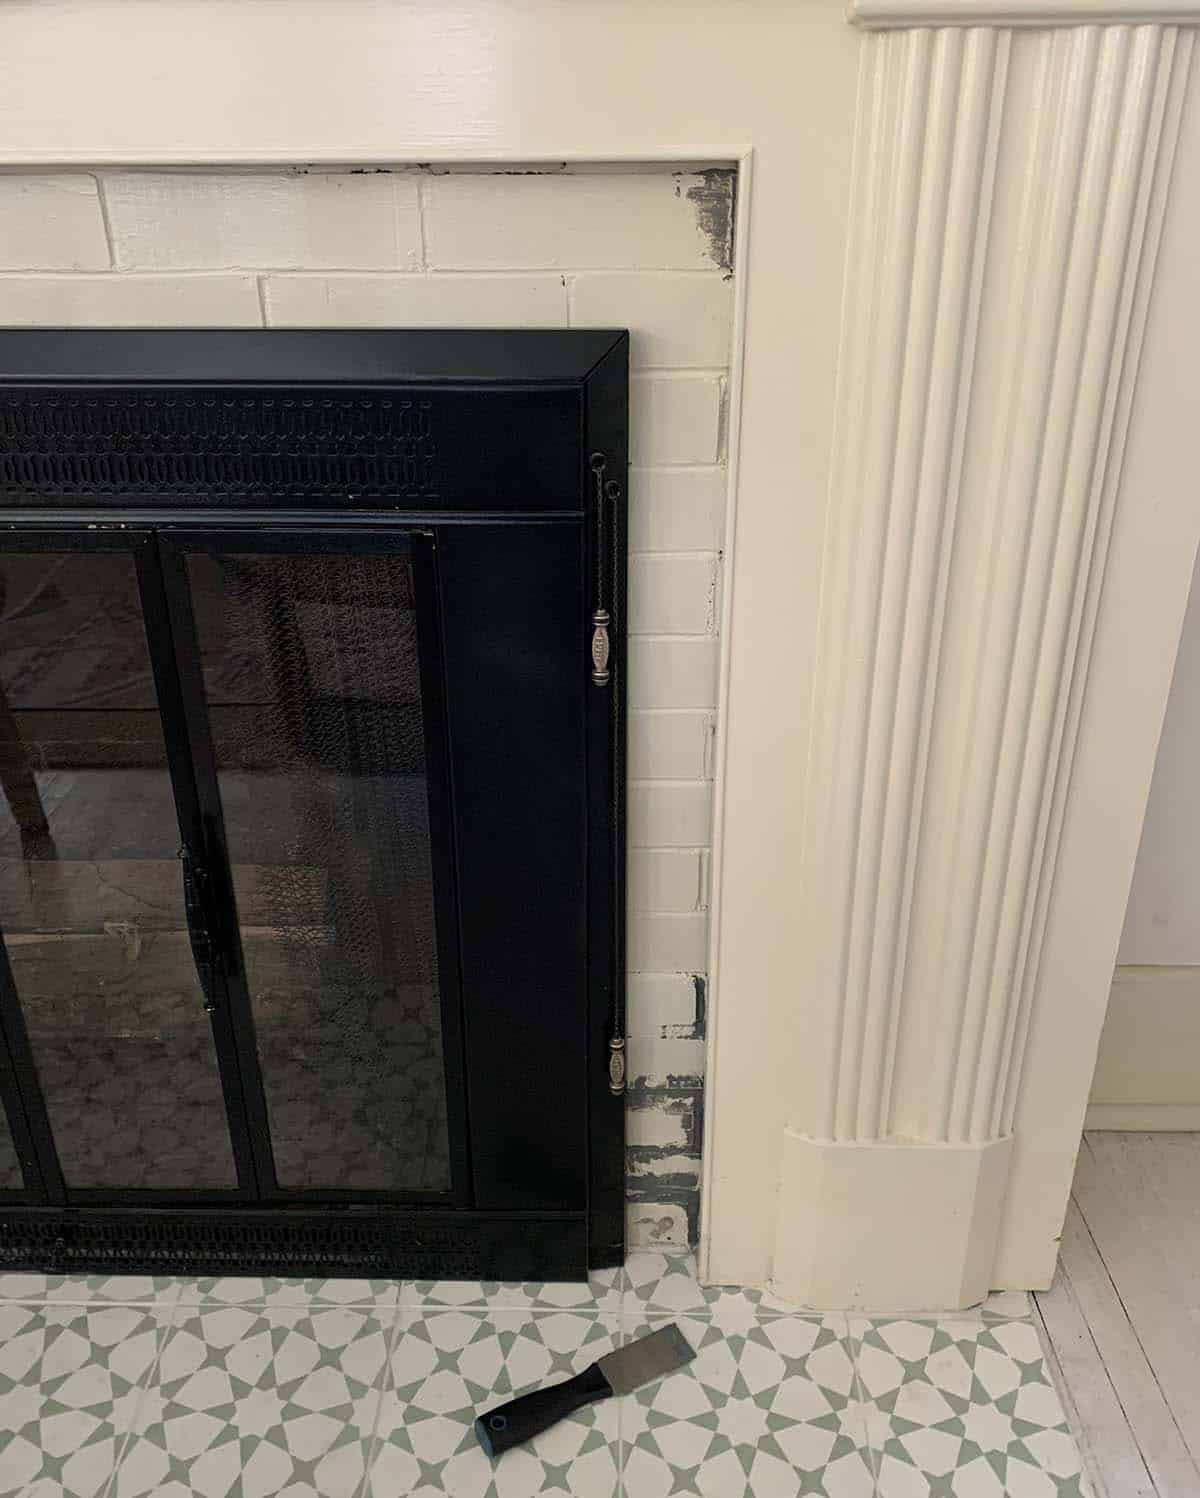
I’m excited to share my updated fireplace project with you! For about a year now, I had noticed the grout in the brick around my fireplace was cracking and in need of some repair. As I planed to repair my brick mantle, I also decided I wanted to give the entire area a little refresh, just to add some color to the room and give it more of a feature (the whole room was basically white before—you can see the room tour here).
For this project, I worked with The Home Depot and used their app to plan and complete my project. This season has me itching to tackle a few more projects around my home, and I love using their app to plan, shop, and even locate the items I need. You can even see the exact aisle and bay the items are located at your local store.
The Home Depot makes it easy to plan your project so you can spend more time with close friends and family enjoying your space, especially with college football season underway—there are more games on at our house (anyone relate?). Having this project complete makes my space feel ready to go for College GameDay!

First, I did a little research on what product I could use to repair the cracking grout between the brick of my fireplace. I was aiming for something that would last and also would withstand higher temperatures.

I looked up products through the app and made sure they were available at my local store before I went. You can also use the app to plan paint colors! I wanted to find a green that would semi-match the green in the tile that is in front of my fireplace mantle.
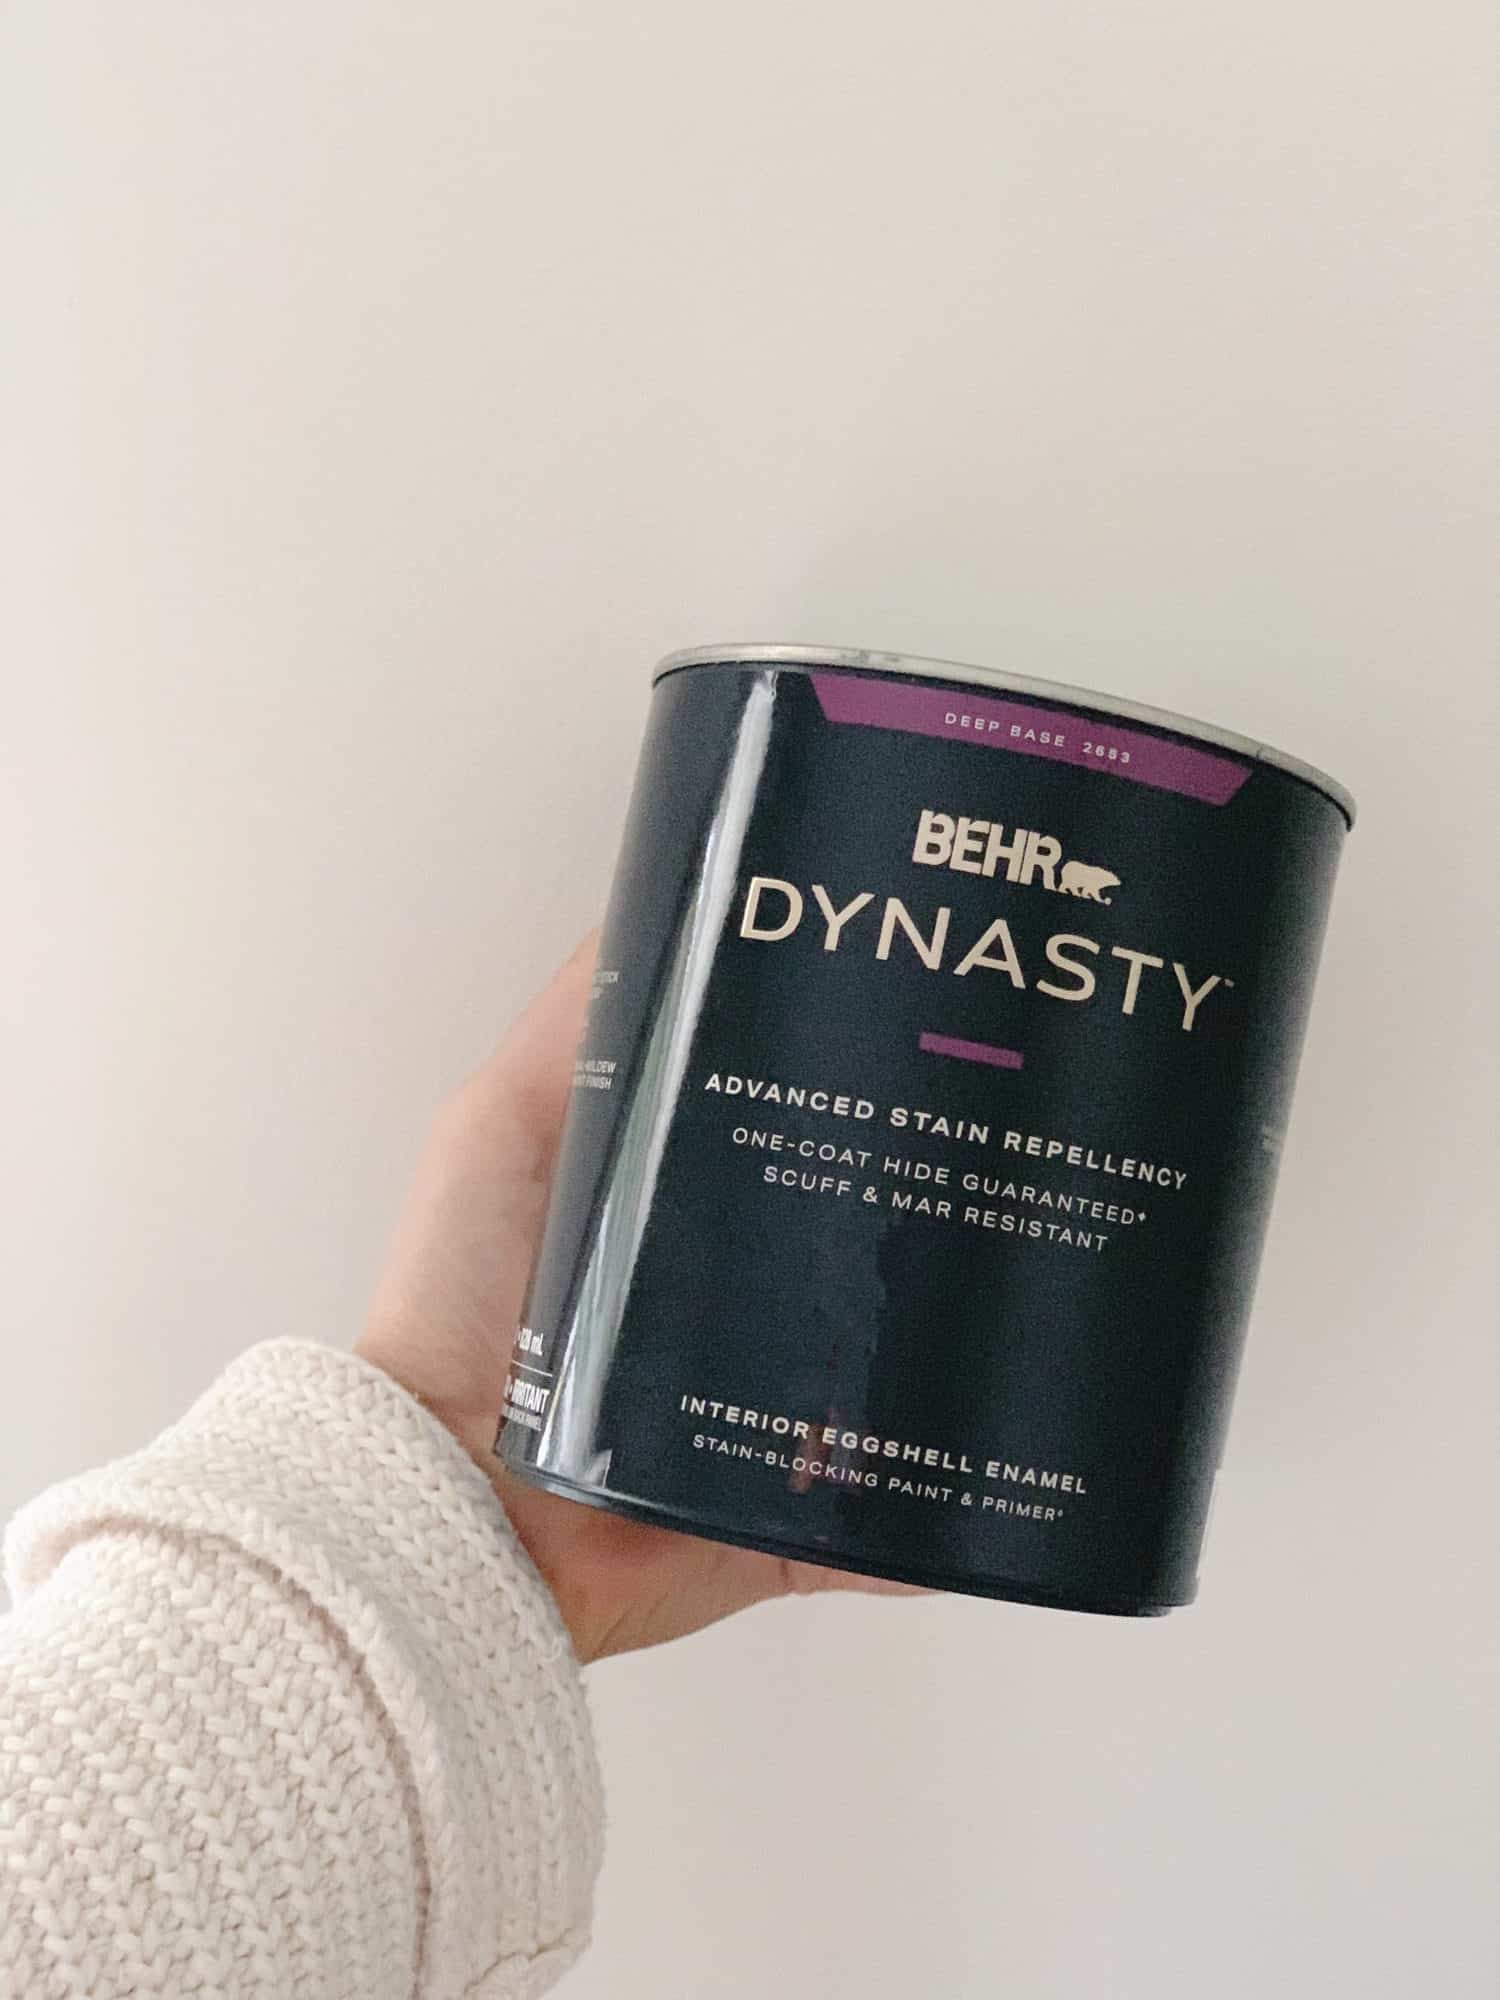
I ended up using BEHR DYNASTY paint in Laurel Tree. BEHR DYNASTY paint is stain and scuff repellant, and guarantees one-coat coverage in over 1,000 colors! Once I had my plan, I was ready to buy supplies and get ready to tackle my project- here’s how to update and repair a brick mantle!
Supplies:

Step One: Use the fire block sealant to repair the brick grout. Allow this to fully dry.
Step Two: Paint over the brick and sealant with black high heat paint. I ended up needing two coats to get the coverage I was wanting.
Step Three: Tape off the mantle area. Then paint and allow to fully dry before removing the tape. It was simple and I only needed one coat of the green paint to get the coverage I wanted on my mantle.


I LOVE the final look of my refreshed fireplace mantle! It makes me so happy that I finally took the time to repair the grout, and I love the little pop of color the green adds to my space. Now I am extra excited to decorate the mantle for any and all seasons! Thanks for letting me share. xo. Emma
Credits // Author: Emma Chapman. Photography: Janae Hardy and Emma Chapman.
 The 15-Minute Movement Habit -Simple Desk Exercises for Working Bloggers
  How To Become A More Mindful Person
  How To Beat Loneliness In London
  Free green spaces to enjoy just outside of London
  How To Store Bicycles In Self Storage
  Why 2026’s top bloggers are going back to paper planners to spark creativity
  Why exercise doesn’t have to mean pain
  5 Tips on How to Train Your Brain